
Last updated November 21, 2026
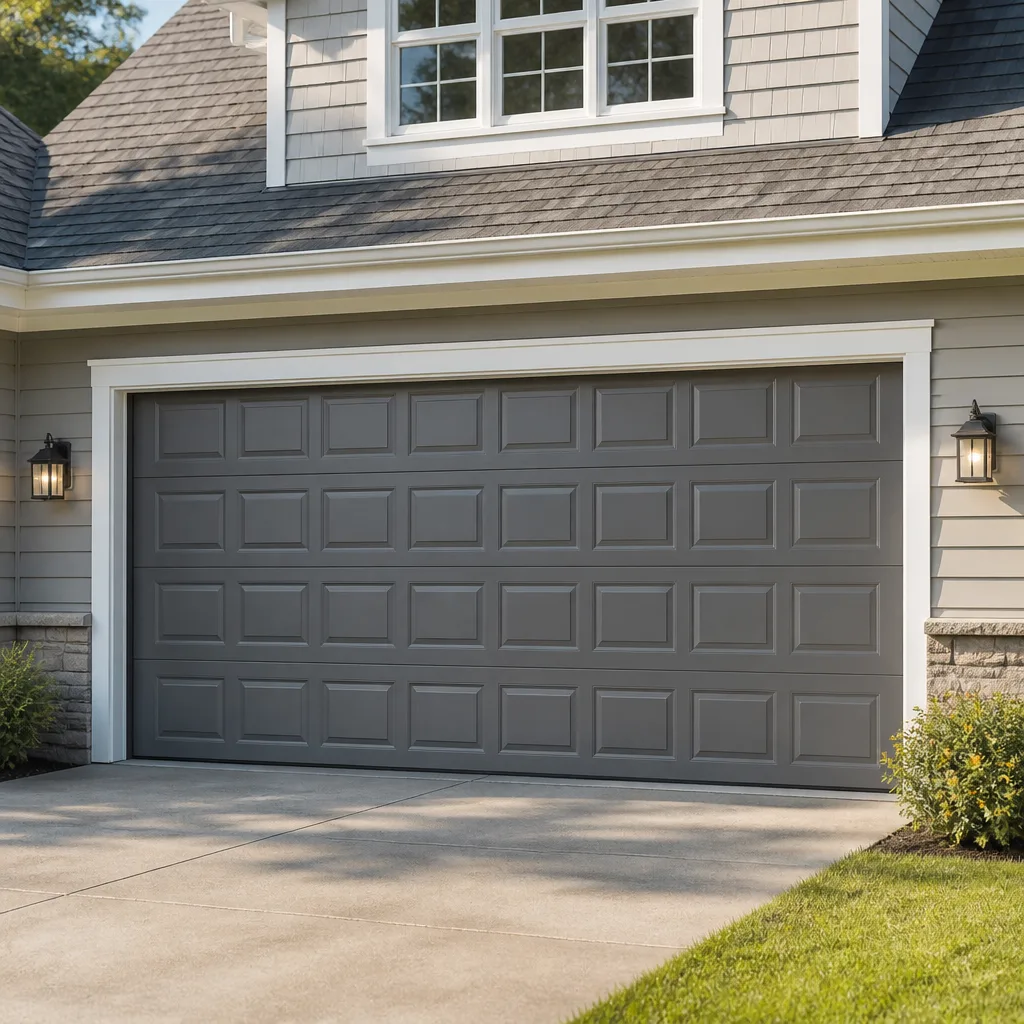 Raised-panel steel
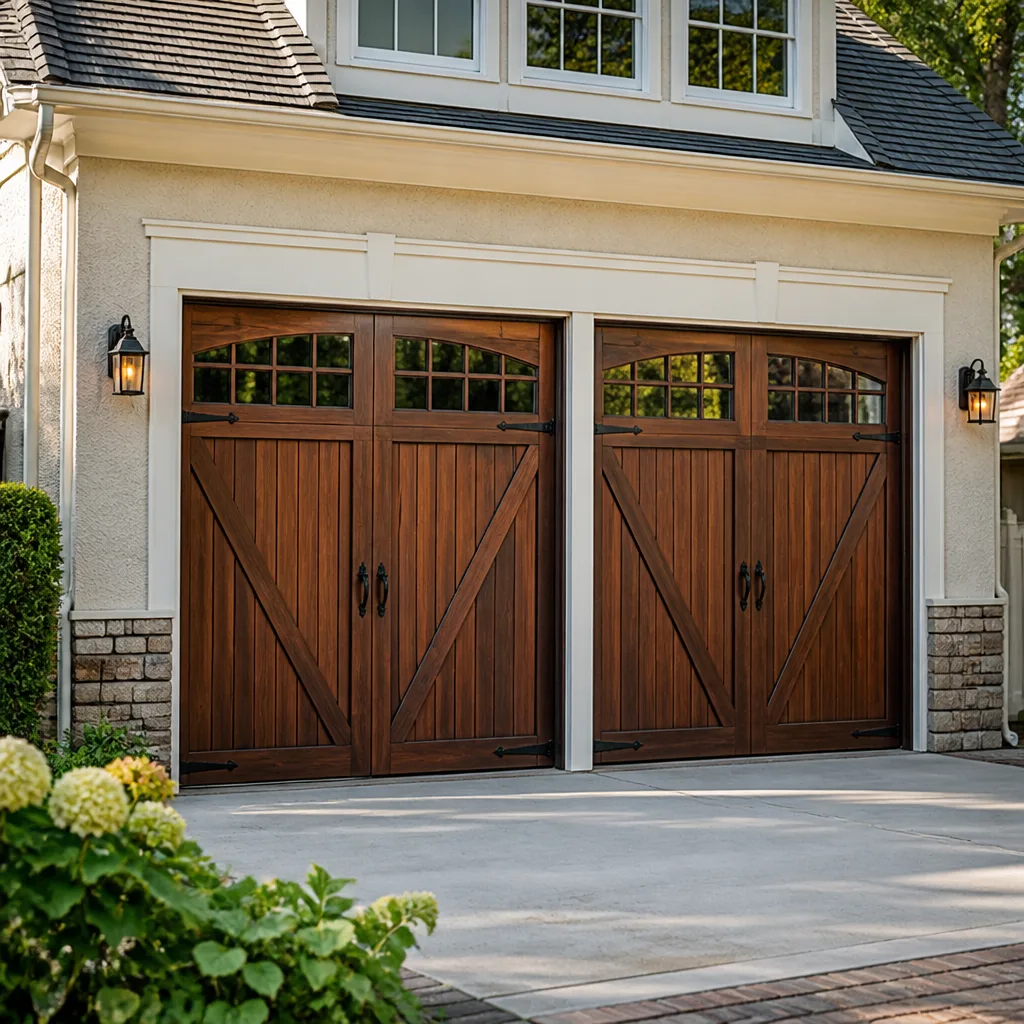 Carriage house
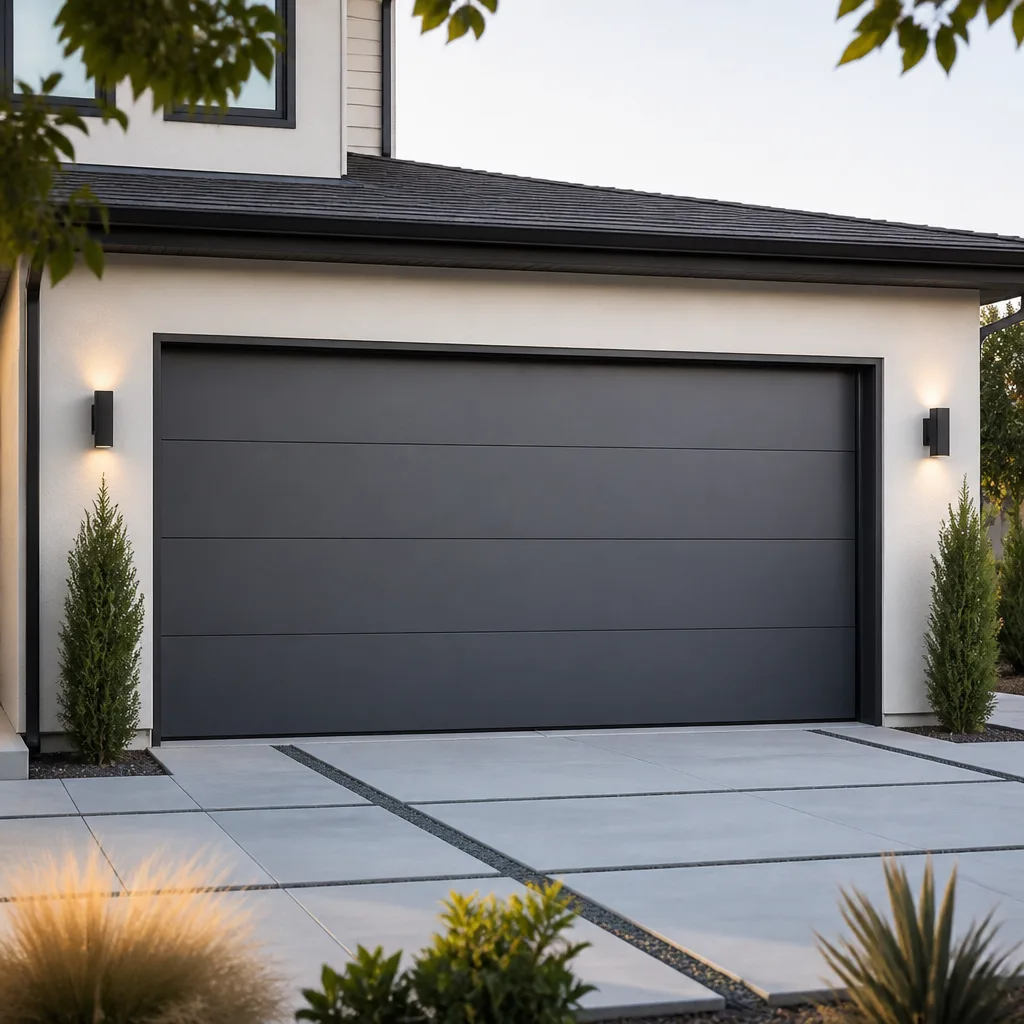 Modern flush
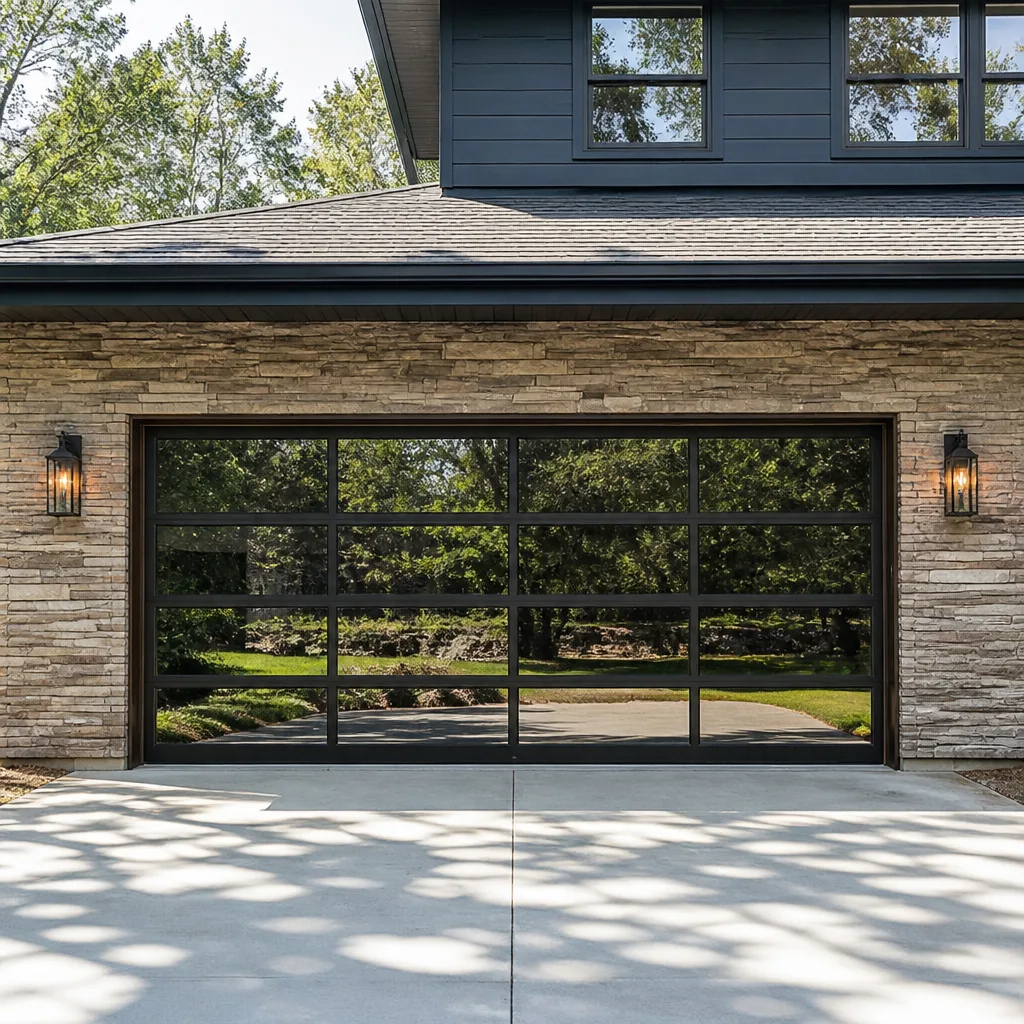 Full-view glass
 LiftMaster openers
 Chamberlain openers
Full 25-point door and opener safety check with every visit - springs, cables, rollers, tracks, and your LiftMaster or Chamberlain opener included
You get a price before we start. It does not change when the pro arrives.
Get your free estimateGarage Door Repair Maintenance Checklist for West Side Homeowners
Most garage door maintenance checklists online were written to sell lubricant spray. This one was built from the repair calls we actually show up to across West Side, NJ. And what we find rarely matches what those generic checklists warned about. The doors that fail early are not the oldest ones. They’re usually the doors nobody looked at for two years, running on dry rollers and a spring that had been quietly losing tension since the last cold snap. A checklist is only useful if it’s tied to how doors actually wear in this climate and this kind of daily use. So here’s ours: what to check monthly, quarterly, and annually, how long each task takes, what to lubricate and with what, how to test your spring safely without touching it, and which items look like easy DIY jobs but genuinely aren’t.
Quick Answer
A working garage door maintenance routine for West Side is four things: a monthly visual and balance check, quarterly lubrication of hinges, rollers, and the torsion bar with a lithium- or silicone-based grease (not WD-40), an annual full inspection of springs, cables, and tracks, and an immediate call to a professional the moment you see a frayed cable, a bent track, or a gap in a spring coil. Most of this takes under 15 minutes a month. Our technicians have up to 8 years of experience, and these are the exact points we check first.
Styles & brands we work with
- Raised-panel steel
- Carriage house
- Modern flush
- Full-view glass
- LiftMaster openers
- Chamberlain openers
Table of Contents
- Why generic maintenance advice misses the mark
- The monthly checklist (10 minutes)
- The quarterly checklist (20 minutes)
- The annual inspection
- Lubrication: the right product for NJ temperatures
- Testing spring tension without touching the springs
- Indicators a “working” door is quietly failing
- What’s DIY-safe and what only looks that way
Why Generic Maintenance Advice Misses the Mark in West Side
Manufacturer checklists assume a stable climate and moderate use. Neither describes a typical West Side garage. Between summer humidity that swells wood door panels and winter freezes that stiffen grease and contract metal, a door here cycles through real seasonal strain every year. A torsion spring that’s perfectly tensioned in May behaves differently in January. Rollers that spin freely in dry months can bind once the lubricant thickens with cold.
Then there’s the way West Side homeowners actually use their doors. For a lot of homes on the West Side, the garage is the primary entry point, not just vehicle storage. That means the door opens and closes several times a day instead of once or twice. Every one of those cycles adds wear to the same handful of components: the spring, the rollers, the hinges, and the opener’s drive mechanism.
So when we build a maintenance routine for a West Side address, we weight it toward cycles and seasonal shifts, not toward what a national brand’s manual assumes. A door used twice a day can go longer between checks. A door used eight times a day by a family that parks two cars and comes and goes constantly needs the monthly pass without skipping.
One more point worth stating plainly: garage doors are one of the heaviest moving assemblies on a house, and the spring system that lifts them is under serious tension every second, including when the door is just sitting closed. That’s the reason this guide separates the safe checks from the dangerous ones instead of lumping everything into a “here’s everything you can do yourself” list.
The Monthly Checklist: 10 Minutes That Prevent Most Breakdowns
This is the pass you run on the first of the month, or the first free moment after it. It’s entirely visual and tactile, and it takes about ten minutes. Do it with the door closed first, then opened, so you can see both positions.
- Run the door and listen. No music, no engine running nearby. A healthy door is quiet – a soft hum from the opener and a faint roll of the wheels. Grinding, squealing, popping, or a heavy rattling mean something’s wearing. Note the sound and when it happens (opening only, closing only, or both).
- Watch the door travel. It should move evenly, start together on both sides, and settle flat against the floor or header without one corner lagging. A door that moves crooked by more than an inch is a track or cable issue, not something to ignore.
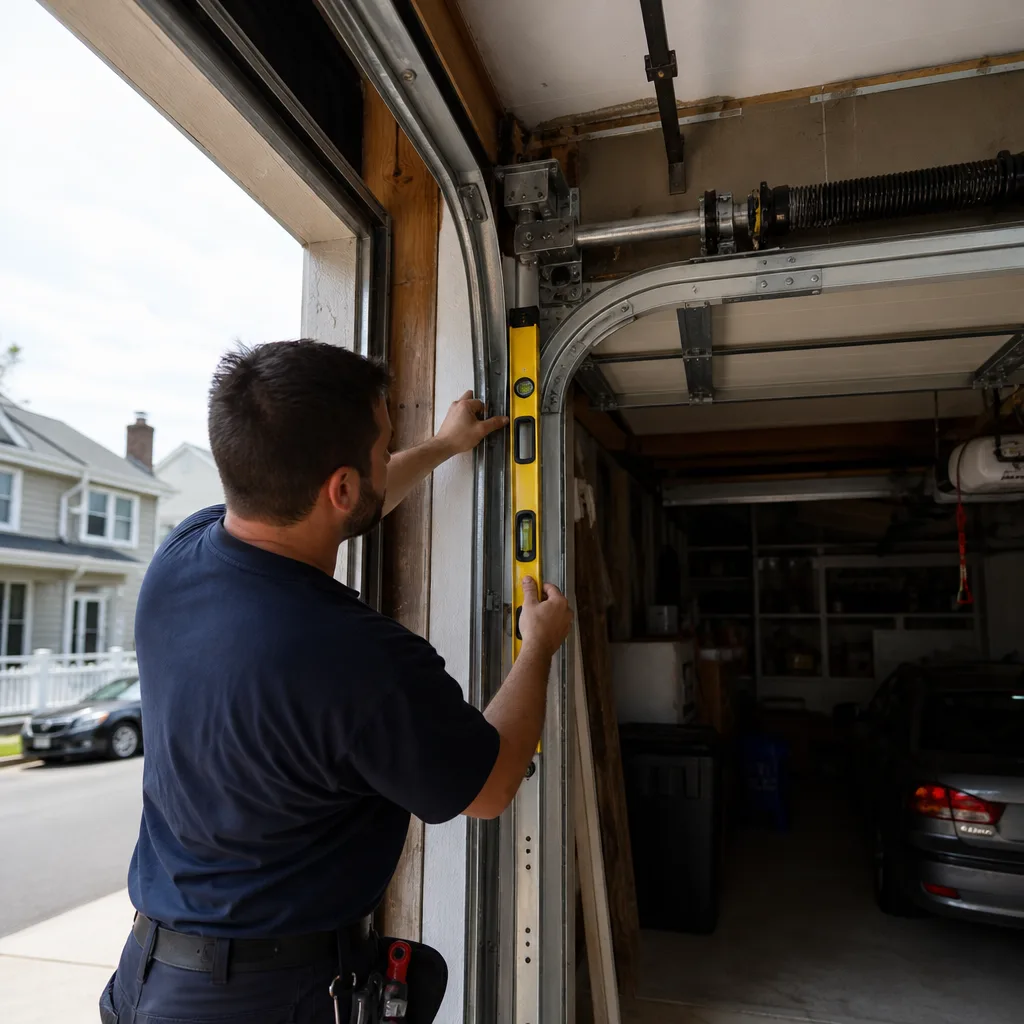
- Check the balance with a manual release. With the door closed, pull the red release handle (or pull the cord) to disengage the opener. Lift the door halfway by hand and let it go at about waist height. A properly balanced door stays put or drifts slowly. One that slams down or shoots up is out of balance and needs a professional look.
- Eyeball the rollers. With the door halfway open, shine a light on the rollers in the track. They should be smooth and slightly greasy. Flat spots, cracks, or a roller that wobbles in its stem mean replacement time.
- Look at the hinges. The plates where the door panels connect. Rust streaks, a hinge sitting at an odd angle, or a screw backing out are all early warnings of a panel about to sag.
- Test the safety reverse. Place a roll of paper towels or a 2×4 flat on the floor in the door’s path and close it. The door must reverse on contact. If it doesn’t, stop and call – this is a safety failure, not a maintenance item to postpone.
That’s it. If everything looks normal, you’re done for the month. If any one item fails, that’s your cue to either book a repair or plan to address it on the quarterly pass. In West Side, we recommend writing the date on a piece of tape inside the garage door frame whenever you complete the monthly check – it’s the small things that keep the habit alive.
The Quarterly Checklist: Lubrication, Fasteners, and Weather Seals
Every three months, add a deeper pass that takes about twenty minutes and covers the parts that wear slowly. This is also the pass where West Side temperature swings really show up.
- Lubricate hinges, rollers, and the torsion bar. See the lubrication section below for products. Two or three short shots per hinge, one on each roller bearing, and a light coat along the torsion bar. Don’t overdo it – excess lubricant attracts grit that turns into grinding paste.
- Tighten fasteners. With a socket or wrench, check the bracket bolts along the tracks and the hinges. Snug, not cranked. Over-tightening cracks hinges and warps panels; snug is the target.
- Inspect the weather seal. The rubber or vinyl strip along the bottom of the door should be flex-and-spring, not cracked or hardened. A dried-out seal lets in water and wind and takes a toll on the concrete underneath. Wipe it down with a silicone spray once a quarter to keep it supple through winter.
- Clean the tracks. A dry cloth or a vacuum with a crevice tool removes dust, leaves, and grit. Do not oil the tracks – oil attracts dirt and jams the rollers.
- Check the opener’s photo-eye sensors. Mounted near the floor on each side of the door, they should be clean, aligned, and solidly mounted. A sensor that’s dirty or knocked out of line is the most common reason a door “won’t close.” Wipe each lens with a dry cloth.
- Look at the door panels for paint or finish wear. In West Side, wood and steel panels both take a beating from humidity and temperature shifts. A small touch-up now prevents rot and rust later.
If you’re tracking this on a calendar, the quarterly pass is a good time to check that your opener’s wall control still responds cleanly and that the battery in the remote isn’t about to die. This is also the moment to remind any household member who rarely uses the garage to run the door once – unused doors can seize in place after a long stretch.
The Annual Inspection: Time to Bring in a Technician
Once a year, have a trained technician do a full inspection. This is not something you should do yourself – the annual pass involves checking spring tension, cable wear at the drum, track alignment, and the opener’s force settings, and two of those four can hurt you badly if handled wrong.
Our technicians have up to 8 years of experience, and the annual inspection is where they catch the problems the monthly and quarterly passes can’t see. What they look at:
- Cable wear at the drums and the bottom corner. Fraying, a single broken wire, or a cable that’s started to jump the drum all fall into “replace before failure” territory.
- Spring tension and coil condition. Coils that have gaps, sagging, or rust streaks are heading toward a snap. A snapped spring is loud and startling, and it usually happens when you least want it – on the way out of the driveway.
- Track plumb and spacing. A track that’s slightly out of alignment now becomes a door that rubs or jumps the track later.
- Opener force and travel limits. A modern opener set too aggressively can pull a door on a bad hinge where the door would have just stopped. Older openers need the same check, and the smart-home-integrated models like LiftMaster and Chamberlain’s myQ ecosystem often need the force setting calibrated after any hardware change.
- Structural anchors. The brackets that hold the tracks and the torsion bar to the framing. With enough seasonal expansion and contraction, those anchors loosen, and a loose anchor puts stress on everything above it.
If you’re in garage door repair territory and haven’t had an annual inspection in more than a year, this is the service that prevents the emergency call. In West Side, the annual inspection also catches a lot of drift between opener and door that homeowners notice as a “slight lag” or “the door doesn’t quite close all the way” – the kind of small symptom that gets ignored until it becomes a real problem.
Lubrication: The Right Product for New Jersey’s Temperature Range
Here’s the mistake we see most often: WD-40. It’s a penetrating oil and a water displacer, not a lubricant. Applied to hinges and rollers, it thins out existing grease and then evaporates, leaving those parts drier than before. Over a winter, that’s how a squeaky door becomes a stuck door.
For a New Jersey garage door, use one of these:
- White lithium grease (spray or tube) for hinges, roller stems, and the torsion bar. It holds up across the temperature swings you get between a hot August afternoon and a January morning.
- Silicone spray for the bottom weather seal and for rubber components. Silicone doesn’t degrade rubber the way petroleum-based products do.
- A dedicated garage door lubricant if you’d rather not buy two products. Look for something labeled for cold-weather use – it won’t thicken to a paste when the temperature drops.
What not to use: motor oil (attracts dirt), grease in a heavy gun (over-applies), and any product labeled “penetrating.” Apply sparingly. Two or three short shots per hinge, one small drop per roller, and a wipe-down to remove excess. A door that’s over-lubricated attracts grit that turns into an abrasive paste and wears rollers faster than if you’d left them dry.
In West Side, we recommend lubricating in late spring (before the humid stretch) and again in late fall (before the cold). Two passes a year covers the seasonal edge cases, and you can skip a summer or winter touch-up if the door is quiet and running smoothly.
Testing Spring Tension Without Touching the Springs
The single most important sentence in this guide: never put your hands, fingers, or tools into or near a garage door spring. A torsion spring is under serious tension even when the door is closed, and a snapped spring releases that energy in a fraction of a second. Extension springs along the sides of the door carry the same risk. Both can cause serious injury.
But you can still tell whether your springs are healthy using a few safe checks:
- Balance test. With the door closed, disconnect the opener (pull the red handle). Lift the door by hand to the halfway point. Let go. A healthy door holds its position, or drifts less than a foot. A door that slams down hard or shoots up fast is out of balance – one spring is stretched or the pair is mismatched. Call a professional.
- Visual gap check. From standing height, look along the length of the torsion bar above the door. The coils should be tight and even. A visible gap of more than a fraction of an inch between coils, or a coil that looks stretched or collapsed, means the spring is failing.
- Rust check. Rust on a spring is more than cosmetic. It creates weak points, and a spring fails at weak points. If you see rust streaks running down the coils, plan to replace the spring at your next annual inspection rather than waiting for the snap.
- Sound check. A door that “pops” once at the start of travel and then runs normally is usually announcing a spring losing tension. That pop is not normal and it’s not going to fix itself.
- Cable condition. Feel (with gloves) for frayed wires on the cables that run along the sides of the door. A cable with one or two broken wires is on the way out. Any more than that and you shouldn’t operate the door until it’s replaced.
Do not lubricate the springs as a solution to a tension problem. Lubrication quiets a healthy spring and does nothing for a failing one. And never try to adjust torsion spring tension yourself – that’s a job that requires the right winding bars and the training to use them safely. Spring repair is one of the services we take most seriously, and it’s the reason we don’t recommend a DIY approach on anything inside the torsion assembly.
Indicators a “Working” Door Is Quietly Developing a Problem
The hardest part of maintenance is noticing what the door isn’t telling you. A door that “still opens” can be weeks away from a failure. Here’s what to look at:
- Cable condition. The cables that run from the bottom corners up along the sides of the door. Fraying, kinks, or a cable that’s started to ride up at the drum are all signs the cable is under strain. A snapped cable can whip, and it usually takes the door out of alignment with it.
- Roller wear on the inside face. New rollers have a smooth, slightly flattened top. Worn ones have a rounded top or a flat spot. Shine a light on the roller body while the door is halfway open – that’s the best angle to see flat spots.
- Track alignment at the door edges. The gap between the roller and the track should be even on both sides. A visible widening or a track that’s pulling away from the wall at the vertical section means the door’s weight is being carried unevenly.
- Hinge screws loosening. A hinge with one loose screw is a hinge about to lose its second. Every panel then hangs slightly crooked, and the door’s edges start rubbing.
- Paint or finish wear on panel edges. Rust on steel or rot on wood at panel edges usually starts where panels touch during travel. That’s a sign the door is flexing more than it should.
- Opener behavior shifts. A door that stops a few inches short or reverses partway through travel is telling you the opener’s force or travel settings have drifted. A LiftMaster or Chamberlain myQ opener showing this pattern usually needs a force recalibration, which is worth having done properly rather than guessed at.
If two or three of these show up at once, that’s an indication that a repair call is the right call, not a wait-and-see.
What’s Genuinely DIY-Safe and What Only Looks That Way
Not every maintenance item belongs to you, and the line isn’t obvious. Here’s how we split it for West Side homeowners.
Safe for you to do:
- The monthly visual pass, listening, and balance check.
- Lubricating hinges, rollers, and the torsion bar with the right product.
- Tightening bracket bolts and hinge screws (snug only).
- Wiping down tracks and cleaning photo-eye sensors.
- Testing the safety reverse with a paper towel roll or 2×4.
- Wiping down the weather seal with silicone spray.
Looks simple, isn’t:
- Adjusting spring tension. A torsion spring needs winding bars and a trained hand. A slip is a serious injury. Don’t.
- Replacing a spring. The replacement itself isn’t the hard part – safely releasing the old one is. Spring repair is a service most handymen won’t take on for exactly this reason.
- Replacing a cable. A cable under tension needs to be released carefully on both sides. A cable that releases wrong can whip across the garage.
- Adjusting the opener’s force or travel limits. You can, in theory, turn the adjustment screws. In practice, an over-tightened force setting can pull a door into a bad spot instead of stopping. This is where a pro with a laser level and a calibration checklist earns their fee.
- Bending a track back into “straight.” Tracks are shaped to tolerances. A hammered track runs a door at the wrong angle and can damage rollers. Track replacement or realignment is an installation job.
- Replacing a panel yourself. Panel weight, spring balance, and hinge geometry all have to match. A new panel that’s slightly heavier than the one it’s replacing unbalances the door. This is where garage door installation experience makes a real difference.
When in doubt, treat it as a “not worth the risk” item. The cost of a technician on a repair is far less than the cost of a garage day you’ll have to give up.
Common Mistakes to Avoid
- Using WD-40 as a lubricant. It thins out actual grease, evaporates, and leaves hinges and rollers drier than they started. In New Jersey’s temperature swings, that turns a quiet door into a stuck one by mid-winter. Use a white lithium or silicone product made for cold-weather use.
- Ignoring a “pop” at the start of travel. That pop is often a spring losing tension. Most people hear it and blame the opener. A spring doesn’t fix itself, and a door operating on a failing spring puts extra load on the cables and opener – which is how one repair becomes three.
- Skipping the balance test. Homeowners assume a door that opens on the button is balanced. Not so. A door can be horribly out of balance and still run, and the extra load gets shed onto the opener and cables until one of them fails.
- Oiling the tracks. Tracks are supposed to be clean and dry. Oil attracts grit, grit grinds rollers, and the door starts to bind. Clean the tracks with a dry cloth, not a lubricant.
- Letting the monthly pass lapse through summer. West Side’s humid stretch is when seals, hinges, and panel finishes take the most damage, and it’s also when most homeowners stop thinking about their garage door. If you skip one month, run a double pass the next.
- Tightening fasteners with a power driver. A drill or impact driver cranked down on a hinge cracks the plate or strips the screw hole. Snug by hand with a socket or wrench, not by power tool.
- Treating a frayed cable as a “maybe.” A cable with one or two broken wires is going to fail, and it won’t pick a convenient day. Two broken wires is the point where you park outside and call – not the point where you plan to get around to it.
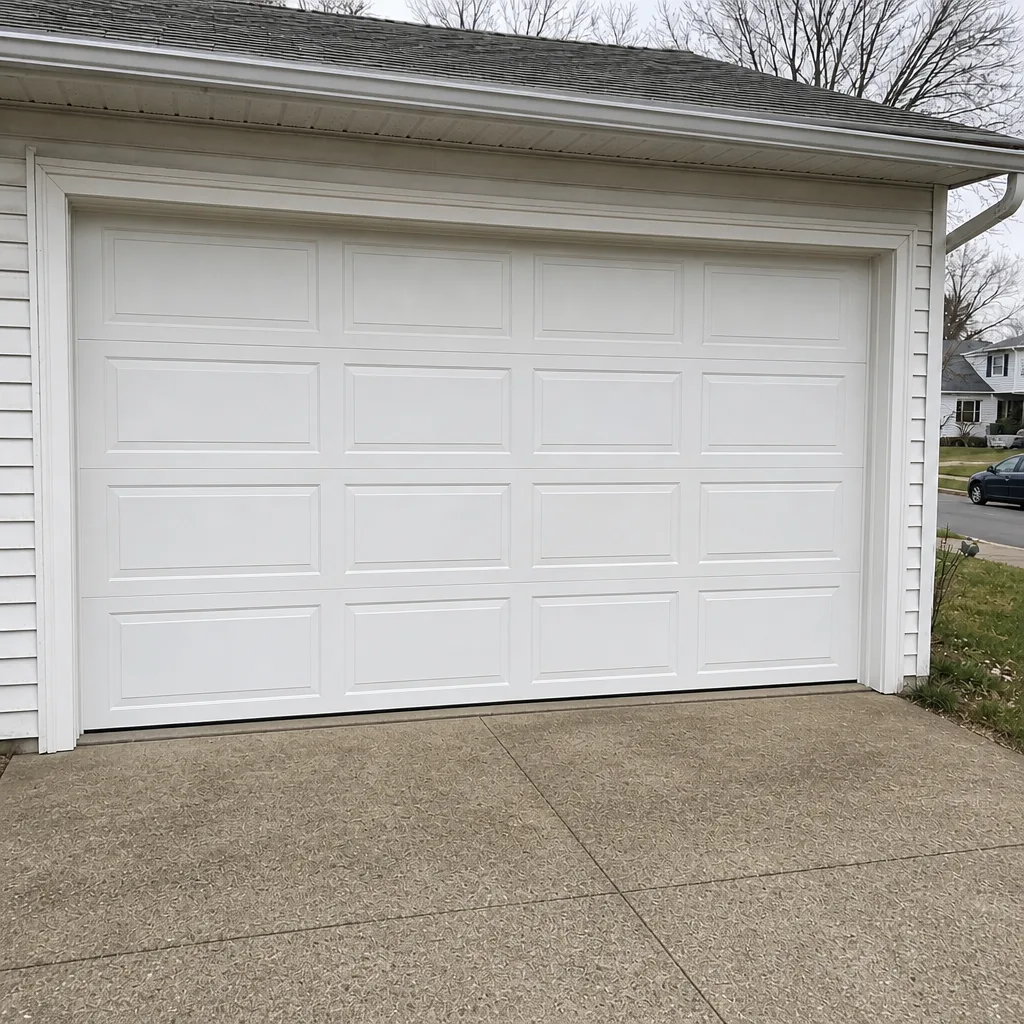
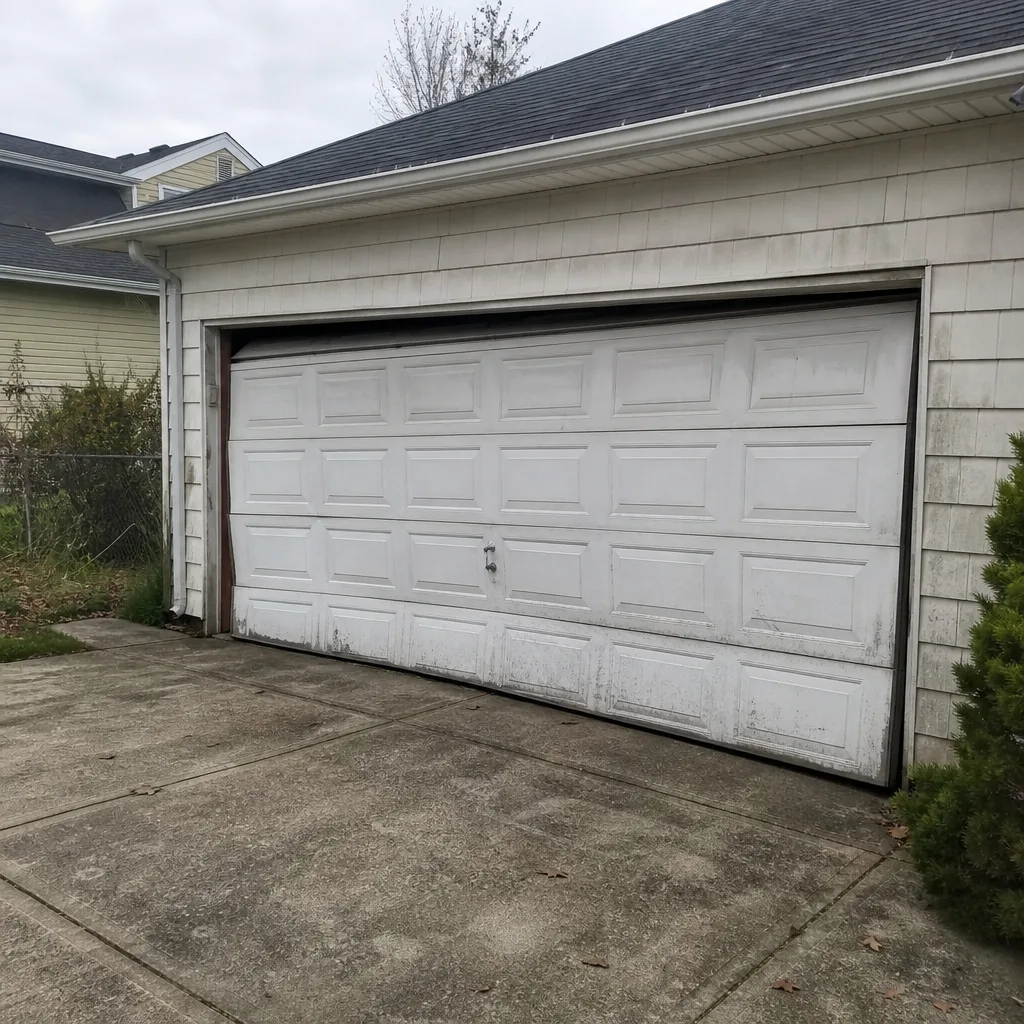
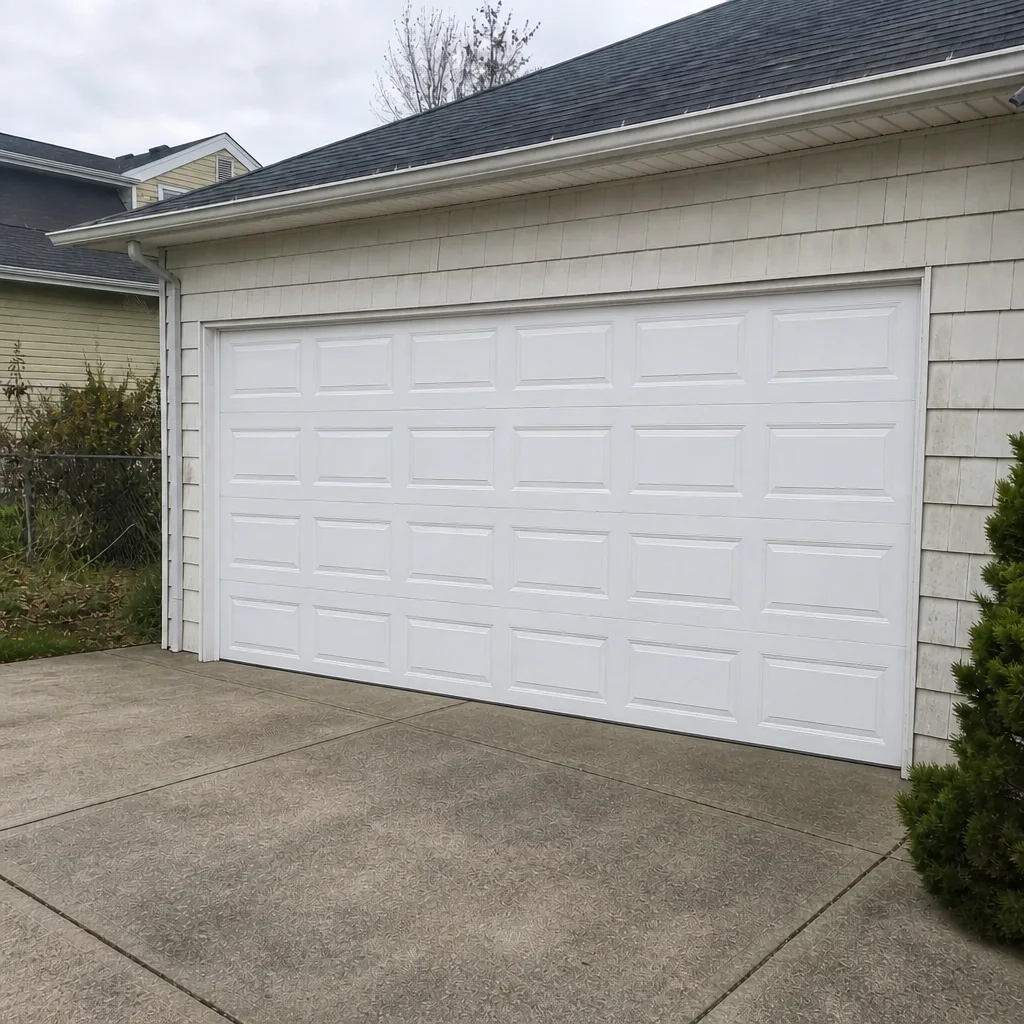
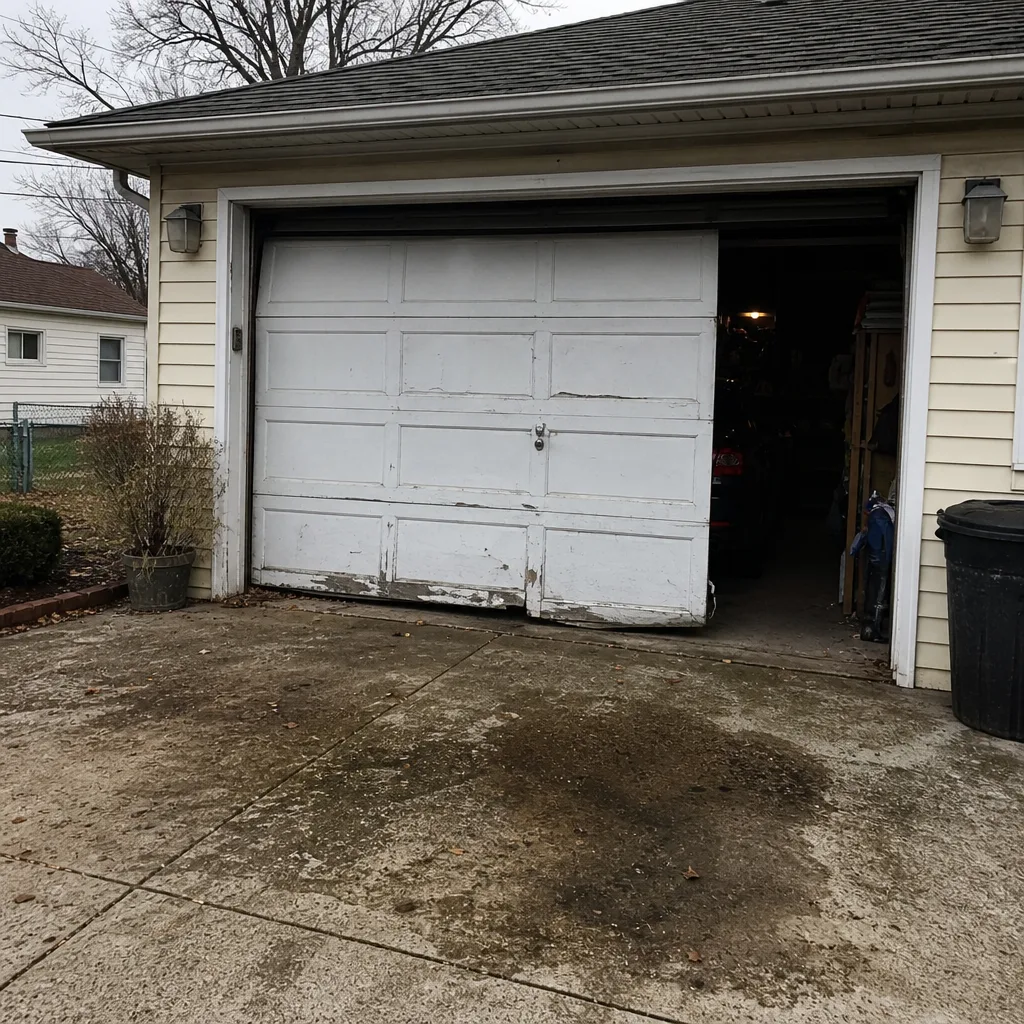
See the difference
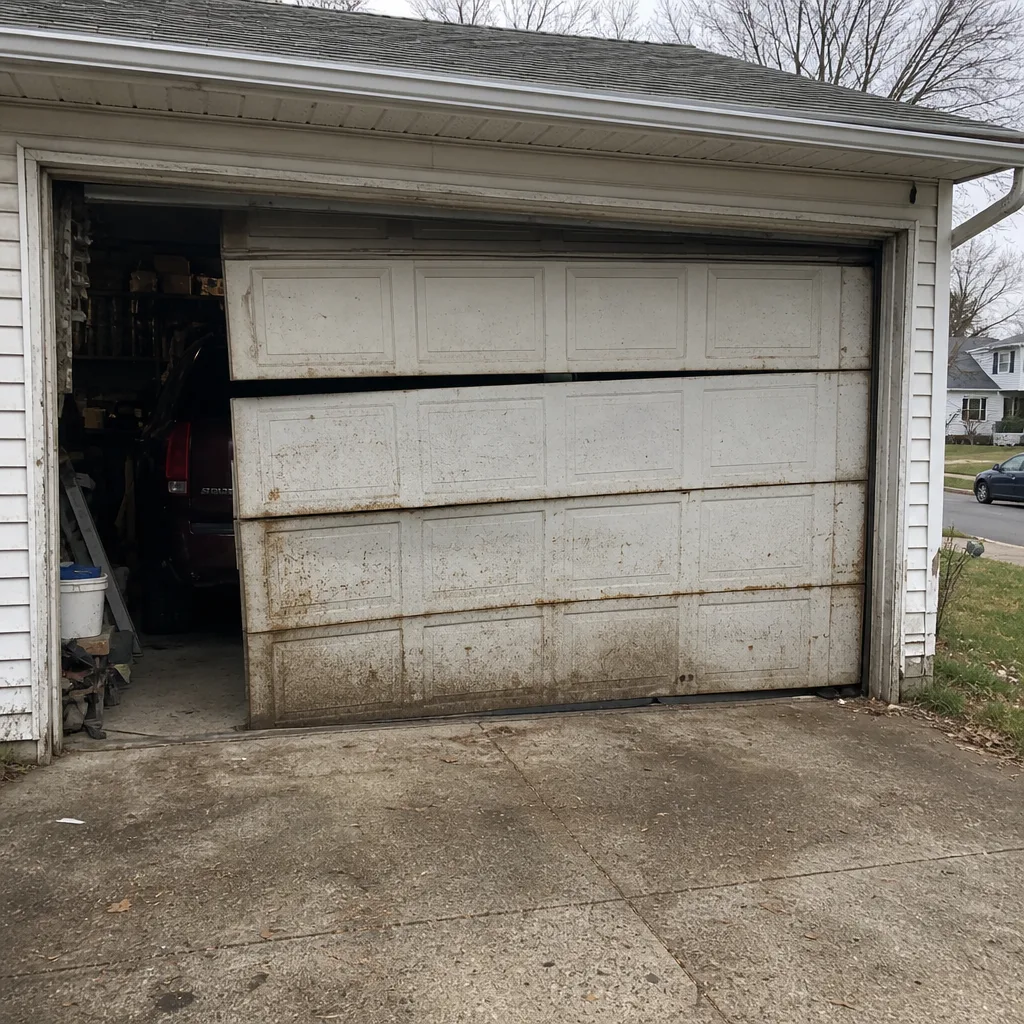 Before
 After
 Before
 After
 Before
 After
When to Call a Professional
Call a professional the moment you see any of these:
- A visible gap, sag, or rust streak on a torsion or extension spring.
- A door that slams, drifts more than a foot during the balance test, or moves crooked.
- A frayed, kinked, or jumped cable.
- A door that reverses partway through travel, stops short, or won’t close on the button.
- A bent track, or a door that’s rubbing the frame anywhere it didn’t before.
- A safety reverse that fails – nobody should be operating a door that won’t stop on contact.
- A popping sound at the start of travel that keeps happening.
- Any spring or cable issue where you’re tempted to DIY. Don’t. Spring work and cable work belong to trained technicians, not generalists.
Garage Door Repair West Side offers free estimates in West Side – call (855) 963-4043. We work on Raynor, LiftMaster, Chamberlain, and Genie systems specifically, so whatever brand is on your wall, you’re talking to a team that already knows the parts and tolerances.
Frequently Asked Questions
Once a year for a full professional inspection, with monthly visual checks and quarterly lubrication in between. The monthly and quarterly passes you can do yourself and take about 10 and 20 minutes. The annual pass involves spring, cable, and opener checks that only a trained technician should handle. Call (855) 963-4043 to book an annual inspection – estimates are free.
White lithium grease or a silicone-based dedicated garage door lubricant, not WD-40. Use it on hinges, roller stems, and the torsion bar; a silicone spray on the rubber weather seal. Apply sparingly and wipe off excess. Call (855) 963-4043 if you’re not sure your door is quiet enough after lubrication – a door that’s still noisy usually has a worn part, not a lubrication problem.
By disconnecting the opener, lifting the door halfway by hand, and letting go. A healthy door holds that position. One that slams down or shoots up is out of balance and needs professional attention. You can also look along the torsion bar for gaps between coils and check for rust streaks. Never adjust or wind a spring yourself – call us for spring repair, and we’ll give you a free estimate.
Rollers are a borderline DIY item and a lot depends on your setup. Every roller replacement involves supporting the door’s weight while it’s been disengaged, and a door panel that drops during the job is a serious hazard. For most West Side homeowners, having a technician replace the full set at once is the safer and more cost-effective choice. Call (855) 963-4043 to talk through what’s on your door.
Usually it’s an opener travel or force setting that has drifted, especially on smart-home-integrated systems like LiftMaster and Chamberlain’s myQ ecosystem. It can also signal a hinge or track problem. It’s worth a professional look before you adjust anything – an over-tightened force setting can pull the door through a bad stop instead of pausing for it. Call (855) 963-4043 for a diagnosis.
Yes. We work on Raynor, LiftMaster, Chamberlain, Genie, Clopay, Amarr, Wayne Dalton, and Craftsman systems – the eight brands you find on most West Side homes. That means our technicians already know the specific tolerances and parts for whatever wall unit or door brand is on your garage. If you’ve got a legacy Genie or Craftsman opener, we still have the parts and the experience. Call (855) 963-4043 with your brand and we’ll tell you what we can do.
The Bottom Line
A garage door maintenance checklist works when it’s built around what actually fails, not what an old manual says should fail. In West Side, that means weighting toward cycles and seasonal strain: monthly visual checks and balance tests, quarterly lubrication and fastener passes, and an annual professional inspection that covers the spring, cable, and opener checks nobody should do themselves. Use the right lubricant. Test the spring without touching it. Never tighten a cable or wind a spring on your own. The minute you see a frayed cable, a bent track, or a door that’s stopped reversing, that’s a call. Call (855) 963-4043. We answer 24/7. Fast dispatch from 7am to 7pm, Sunday through Friday. Estimates are free, and we’re a single source for garage door opener repair and the rest of the system too.
For the full range of what we handle at Garage Door Repair West Side, including emergency service when the door won’t wait, start with a call.
Written by the team at Garage Door Repair West Side.